DIPPING PREP
So, we've stained our shafts. Now its time to get them ready for sealing. Here you'll need some shop rags as well as your steel wool.
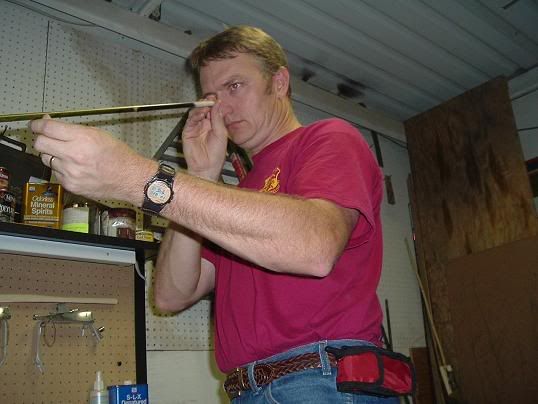
Check for straightness and straighten any bends at this time. It is more difficult to keep a shaft straight if you wait till after the sealing process.

 I always have trouble explaining how this process works so bear with me.
ops:
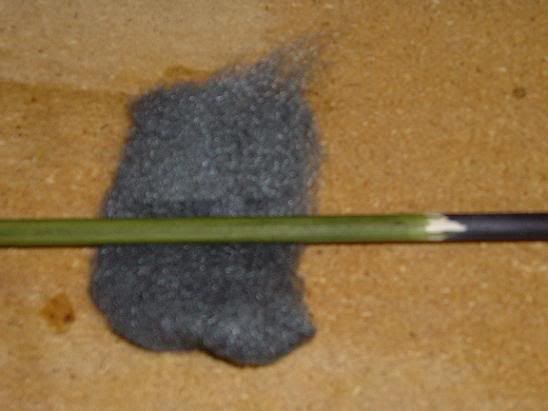
Sand the shaft using 0000 steel wool to remove any foriegn matter as well as dye residue. This is also another chance to catch any flaws in the shaft before sealing.
"Wooling"
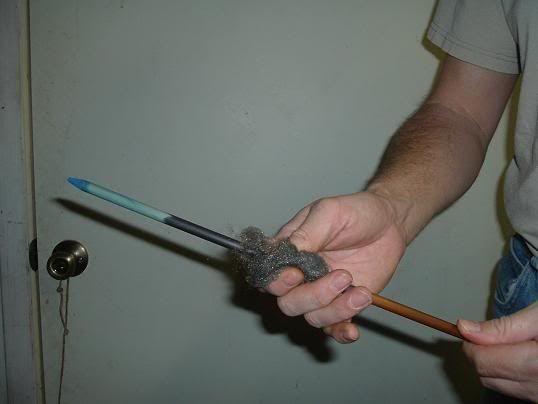
If you choose to use multiple colors with different base tones it is best to wool the sections seperately. For instance, if you use blue and yellow, the blue will bleed into the yellow causing an off green tone.
Once you have the shaft "wooled" smooth you'll need to clean off the residue. I use the disposable blue shop rags (paper towels) from the Wal Mart automotive section. They're porous enough to capture the residue. This will prevent the dye residue from tainting your sealant if you use a dip tube as I do.
Cleaning residue
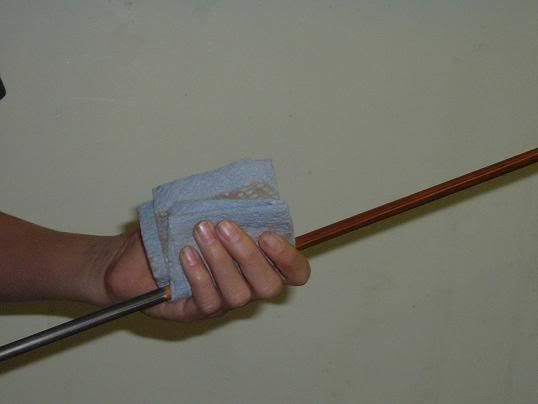
Continue to wipe the shaft till no residue shows on the rag.
I fold the rag down to hand size, fold one end around the shaft and wipe several times. I then unfold, move to the center of the rag and fold around the shaft again and wipe several times again. I continue wiping and folding till the rag comes away clean. In the photo you can see that my son, Justin, is on the second wiping as he's in the center of the rag. Depending on the number of colors used you can get a dozen shafts with as little as one rag. If you're using easily compromised colors, as with the steel wool, I recommend you use one rag per color.
Once you get the shaft wooled and cleaned you're now ready for your first dip in the sealant.