Okay, back at it.
Sand paper

Use 220 grit or finer sand paper.
Dye

Here you see Fiebings leather dye. I also use Rit dye mixed with denatured alcohol, but not for this batch. The colors to be used are Russet, Black and Turquoise as stated before.
Thus, we enter the staining prep stage of arrow crafting:
Before staining I'll sand the shafts LIGHTLY with 220 grit or finer sand paper. This serves two purposes: smooths the shaft and helps locate splinters not previously found. You can use steel wool, but I prefer sand paper as it doesn't snag. Some splinters are workable.
Once you've made a couple passes with the sand paper over the shafts, wipe the shafts down with your shop rag or paper towel to remove dust/residue.
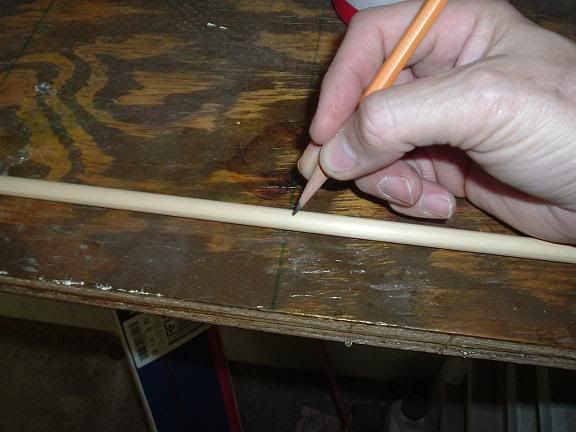
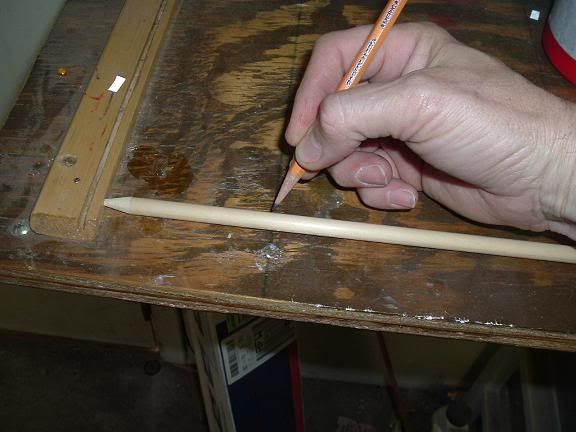
Now, if you choose to crown and/or cap, you will need to mark where you want the colors to change. I've got my measurements premarked on my arrow workstation so all I have to do is lay the shaft on the marks and with a No. 2 pencil (any pencil) I make a visible mark. The pencil mark will usually come off while your sanding with the steel wool; we'll get to that later.

Cap
Crown/Crest